【飛凌嵌入式 OK3399-C+開發板試用體驗】開箱上電
作者:donatello1996
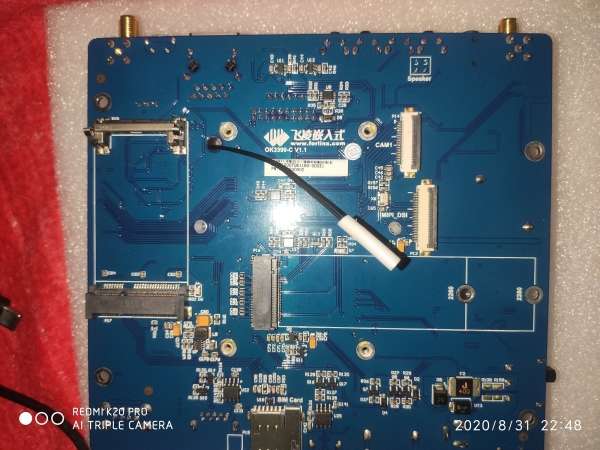
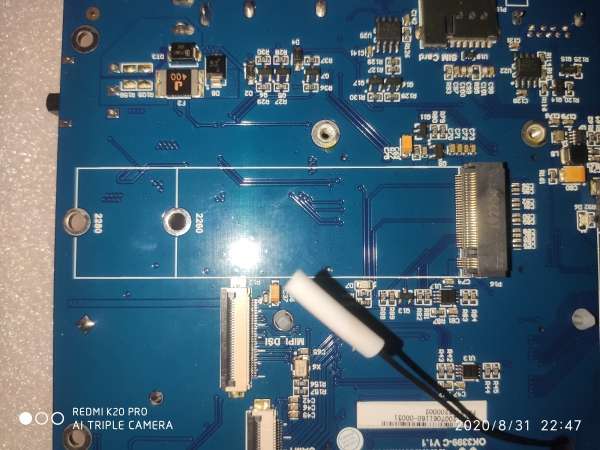
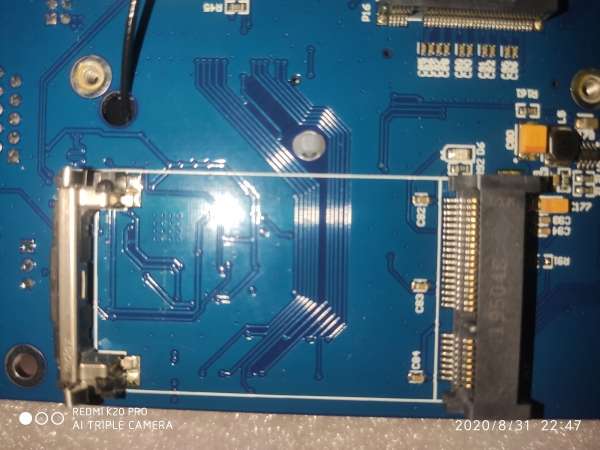
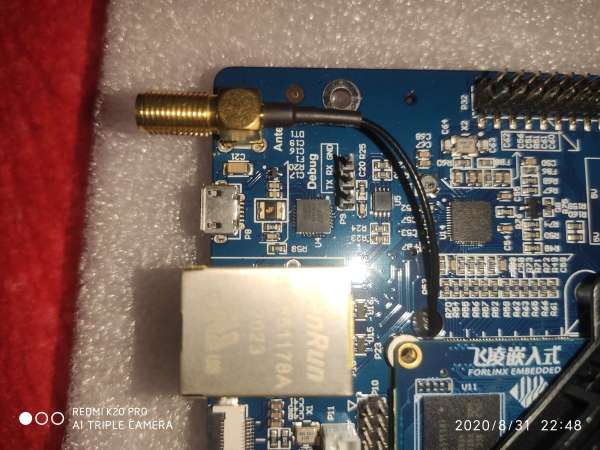
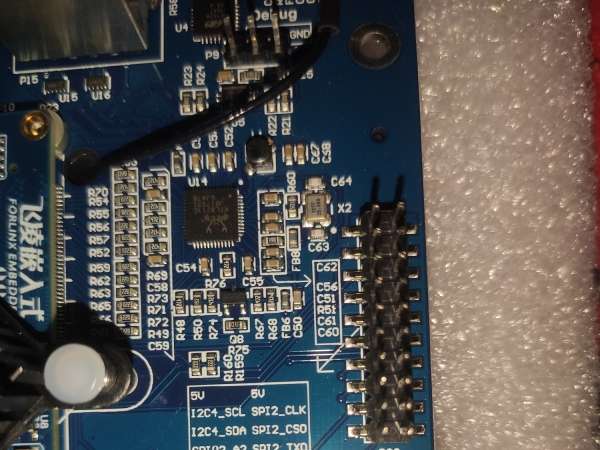
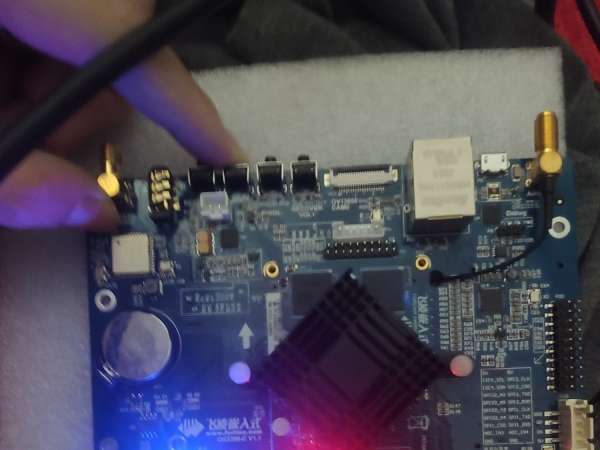
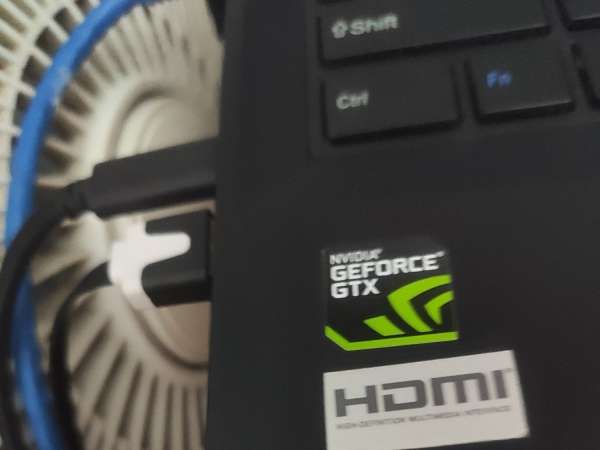
收到rk3399開發板一周多的時間,因為忙于別的事情沒來得及發第一帖,現在補上。 收到開發板,開箱,給我第一印象是rk3399開發板的外設接口真的很齊全,特別是背面的m.2固態硬盤口和minipcie接口都很不錯,這樣開發板就同時有工控板和開源創客板兩個味了:

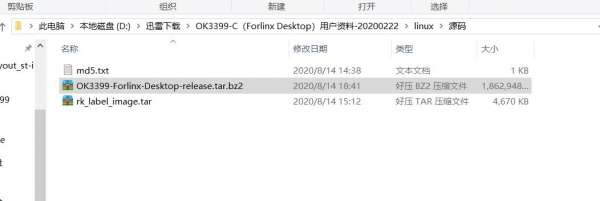
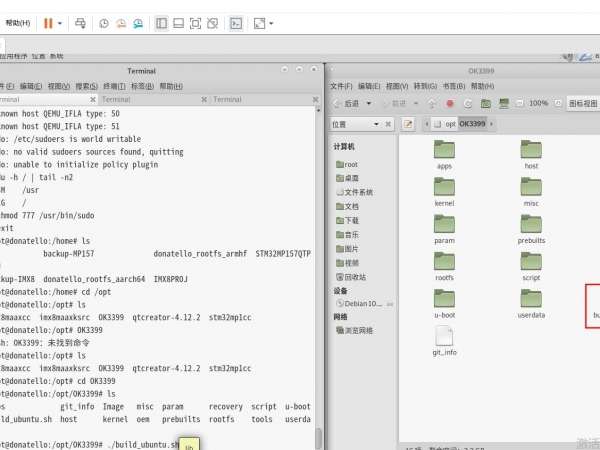
在開發板沒寄出的這段時間里我在電腦虛擬機里面搭建好了Linux內核源碼并編譯,非常簡單,將內核源碼包解壓出來,運行解壓目錄的
1../build_ubuntu.sh
就可以了:
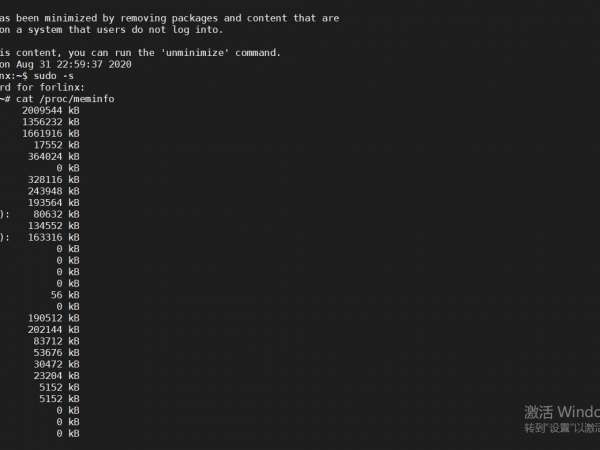
cat /etc/sources.list
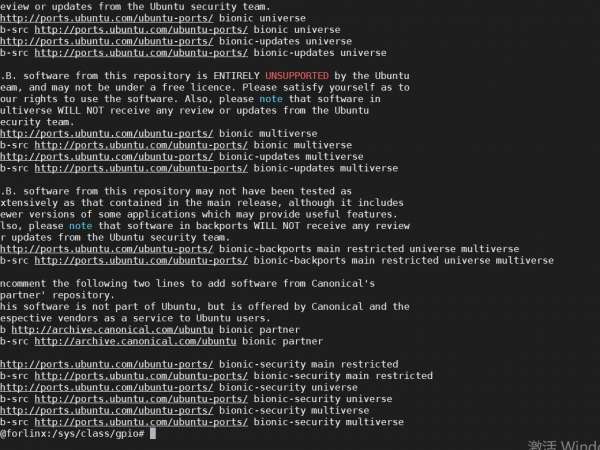
可以看到,ubuntu系統默認使用的軟件源是國外的ports源,要想使用這個軟件源更新軟件且速度不受控制,必須要翻墻,所以為了方便直接用國內源是最好的,比如下面這個華中科技大學的Ubuntu16.04 LTS ARM64源:
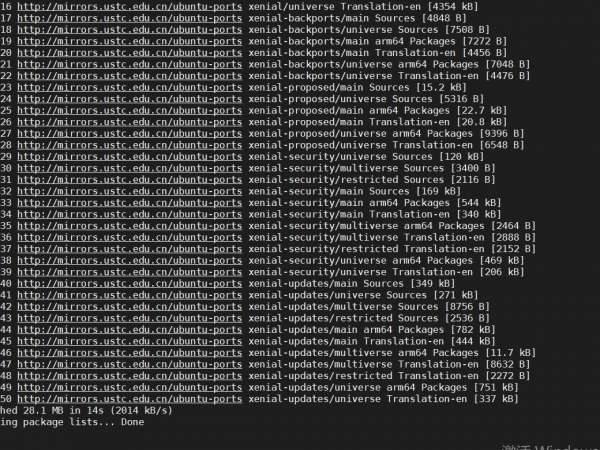
1.deb http://mirrors.ustc.edu.cn/ubuntu-ports/ xenial main multiverse restricted universe
2.deb http://mirrors.ustc.edu.cn/ubuntu-ports/ xenial-backports main multiverse restricted universe
3.deb http://mirrors.ustc.edu.cn/ubuntu-ports/ xenial-proposed main multiverse restricted universe
4.deb http://mirrors.ustc.edu.cn/ubuntu-ports/ xenial-security main multiverse restricted universe
5.deb http://mirrors.ustc.edu.cn/ubuntu-ports/ xenial-updates main multiverse restricted universe
6.deb-src http://mirrors.ustc.edu.cn/ubuntu-ports/ xenial main multiverse restricted universe
7.deb-src http://mirrors.ustc.edu.cn/ubuntu-ports/ xenial-backports main multiverse restricted universe
8.deb-src http://mirrors.ustc.edu.cn/ubuntu-ports/ xenial-proposed main multiverse restricted universe
9.deb-src http://mirrors.ustc.edu.cn/ubuntu-ports/ xenial-security main multiverse restricted universe
10.deb-src http://mirrors.ustc.edu.cn/ubuntu-ports/ xenial-updates main multiverse restricted universe
這里需要注意幾點
1.apt update
2.apt upgrade
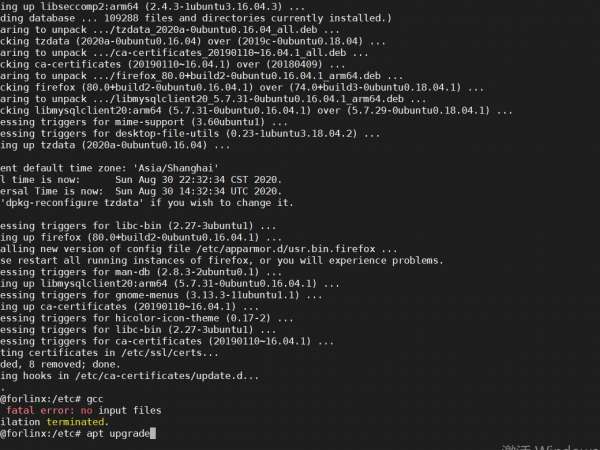
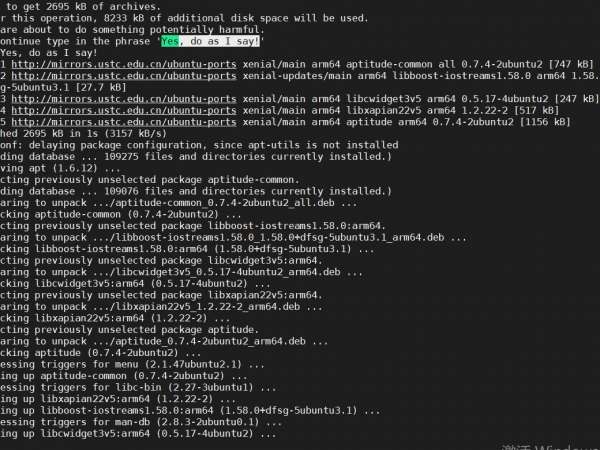
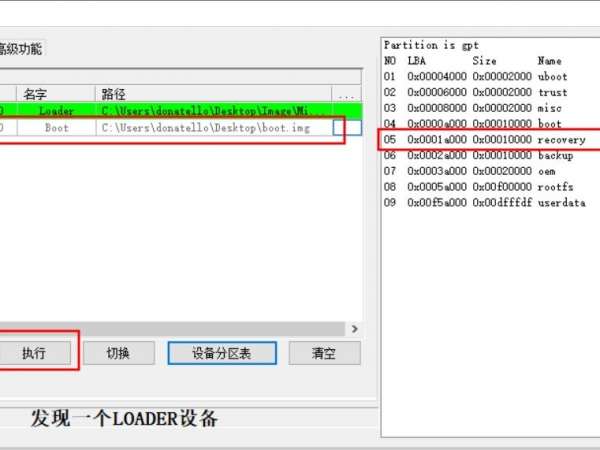
對于板子目前用的這個系統,不能用aptitude這種便捷的工具進行軟件安裝,我在第一次安裝完aptitude之后發現apt指令不能用了,為了節省時間無奈只能重刷系統,多次刷寫系統對EMMC是不好的,大家引以為戒。
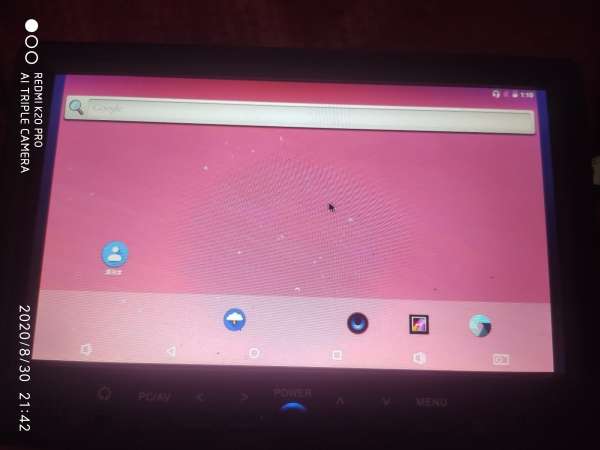
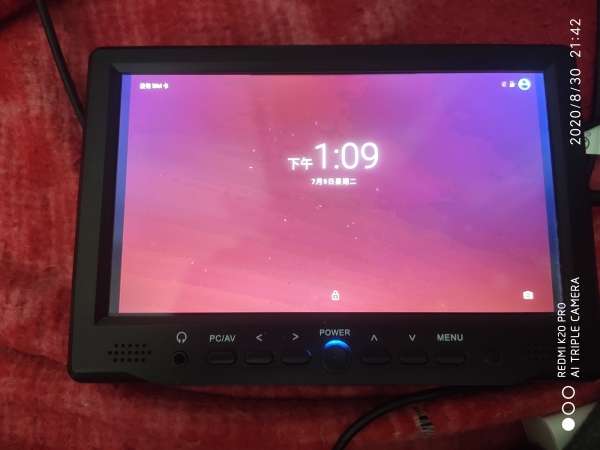
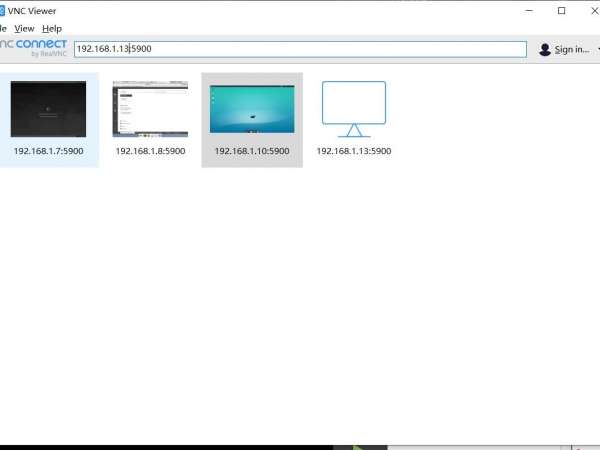
為了使QT項目開發更方便,我準備擺脫HDMI顯示屏,直接用VNC桌面來遠程控制開發板的圖形桌面。對于VNC來說最常用的有兩種方案,第一種是X11VNC,即實時投屏,將開發板輸出到HDMI或者別的圖像輸出口的畫面遠程投屏到VNC客戶端上,另外一種就是普通的vncserver,這種是虛擬桌面,我個人更喜歡X11VNC桌面。安裝和使用x11vnc軟件的方式真的夠傻瓜式的:
1.apt install x11vnc
2.x11vnc
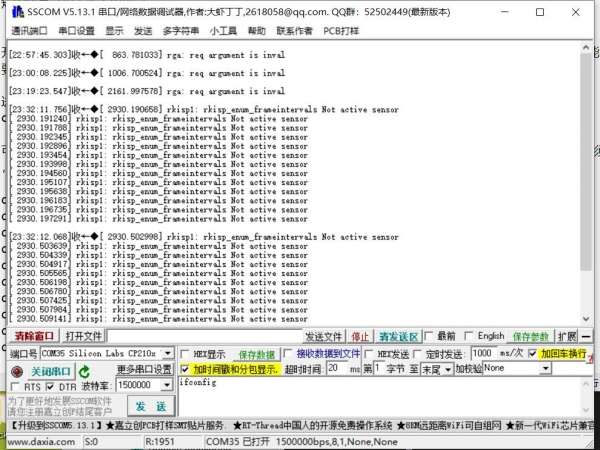
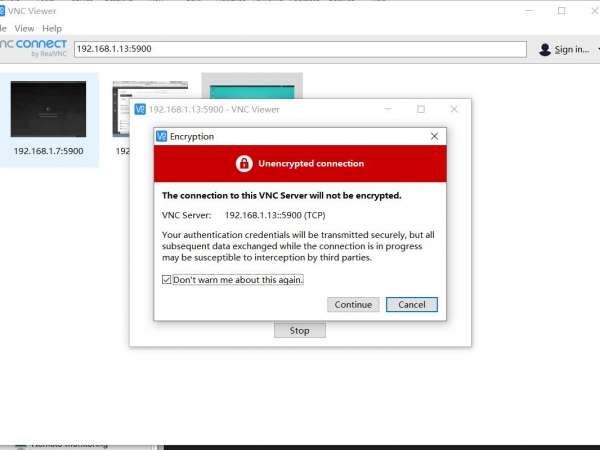
x11vnc啟動之后使用VNC Viewer或者RealVNC之類的工具進入到桌面投屏,進入方式是IP+端口號,端口號5900:
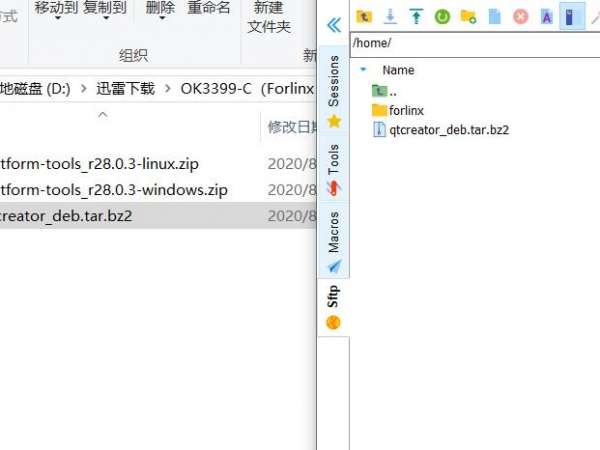
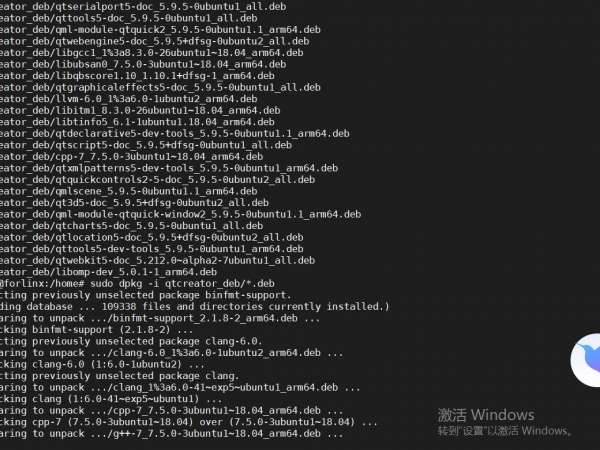
1.cd /home
2.tar xvf qtcreator_deb.tar.bz2
3.dpkg -i /home/qtcreator_deb/*.deb
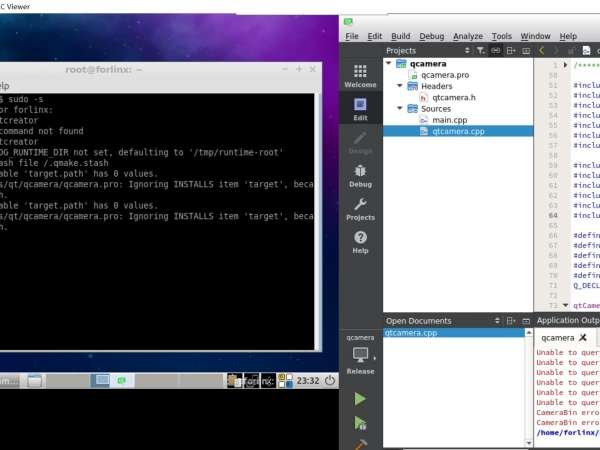
隨便編寫一個Hello World的窗口小程序:
相關產品 >
-
FET3399-C核心板
飛凌RK3399安卓高性能核心板采用 采用六核Rockchip RK3399芯片,雙Cortex-A72大核+四Cortex-A53小核結構,對整數、浮點、內存等作了大幅優化,在整體性能、功耗及核心面積三個方面提升。以下將對瑞芯微芯片RK3399參數,RK3399核心板方案及其性能做具體介紹。如您對飛凌RK3399系列核心板有興趣,歡迎咨詢了解。
了解詳情
-
OK3399-C開發板
飛凌嵌入式RK3399安卓開發板主芯片采用高性能六核CPU Rockchip RK3399,GPU采用Mail-T860四核 GPU,RK3399作為目RK產品線中低功耗、高性能的代表,可滿足人臉識別設備、機器人、無人機、IoT物聯網領域應用。飛凌RK3399開發板在整體性能、功耗及核心面積做了大幅度優化,更加滿足工業設計需求。飛凌RK3399開發板為進一步減少用戶二次開發難度,開放了底板原理圖,并提供了RK3399用戶手冊、芯片手冊,加上優質的技術服務,讓您的方案從構思到上市時間縮短。
了解詳情